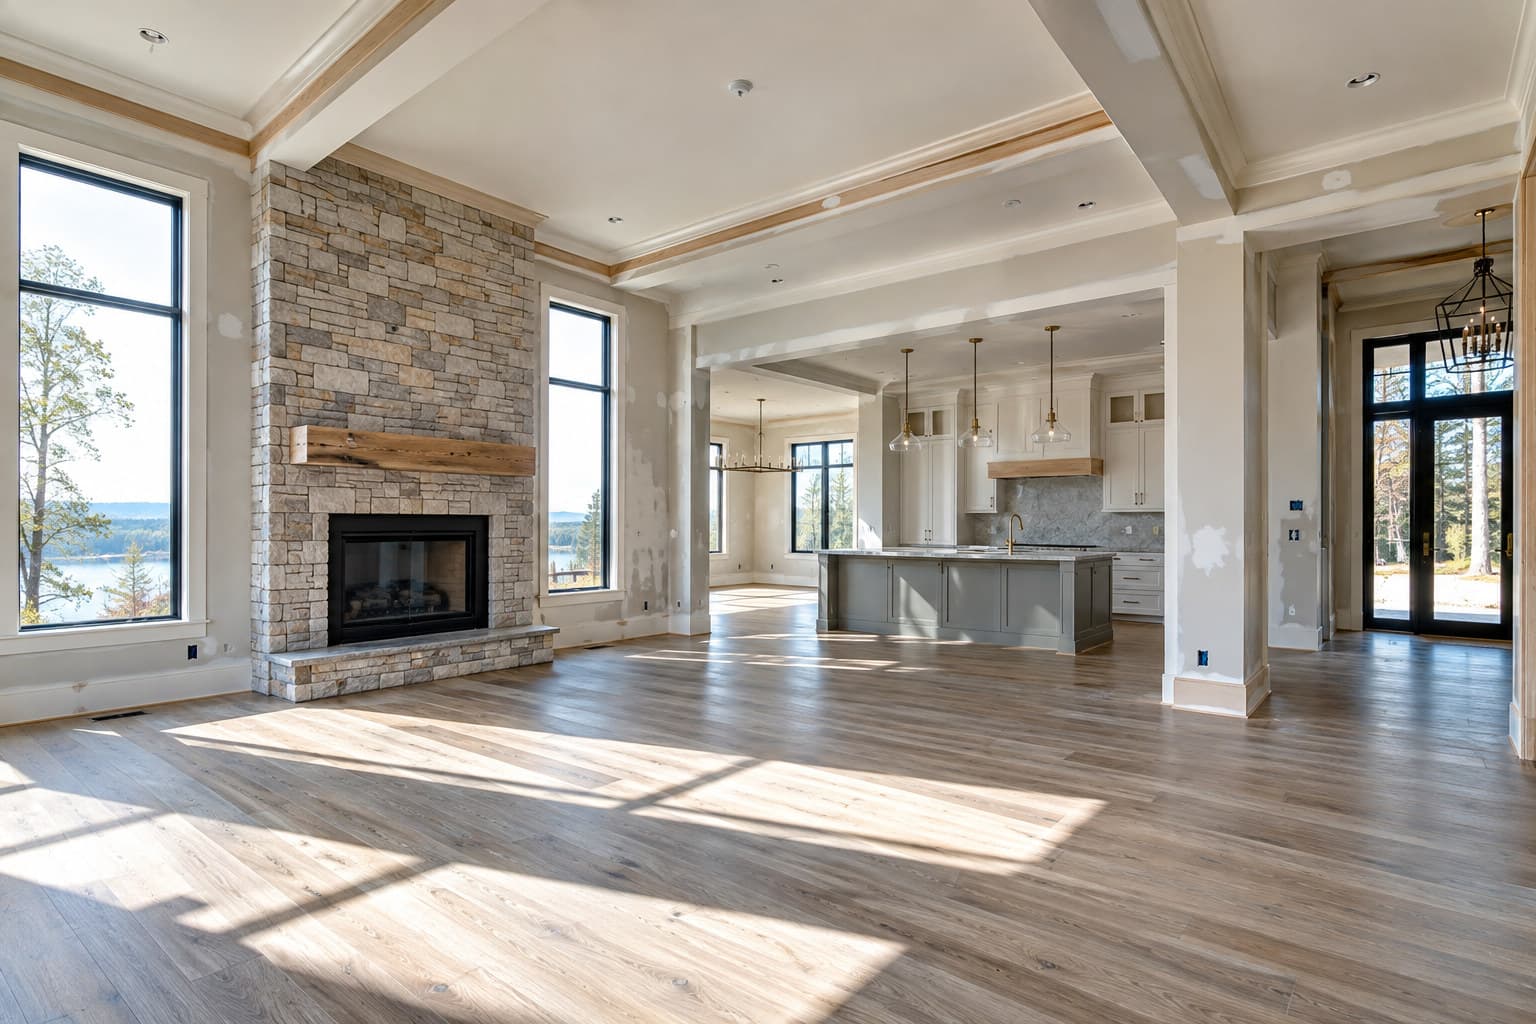
The new construction inspection checklist you will actually finish is short: walk every room in the same order, photograph every defect, and leave with a list grouped by room before you sign off.
Why most checklists never get used
Most new construction inspection checklists you find online run three or four pages long. They cover every system in the house, from roof flashing to HVAC static pressure, and they assume you have a flashlight, a moisture meter, and a free Saturday. Homeowners start strong in the garage and lose steam by the second bedroom. The list that actually gets finished is the one short enough to carry room to room without flipping pages.
This version keeps it to what a buyer can realistically check in one pass: does it look right, does it work, and is it safe. Anything more technical, structural framing, roof decking, load paths, belongs to a licensed home inspector, not a walkthrough checklist.
The short checklist, room by room
Walk the house in one direction, typically front to back, and repeat the same five checks in every room before moving to the next.
- 1Walls and ceilings: look for drywall seams, nail pops, paint runs, and uneven texture.
- 2Floors: check for scratches, gaps at transitions, and squeaks when you walk the full width of the room.
- 3Windows and doors: open and close every one, check that locks engage and screens are present and undamaged.
- 4Outlets and switches: test with a simple plug-in tester or your phone charger, and flip every switch to confirm it controls the right fixture.
- 5Fixtures and hardware: confirm light fixtures, cabinet pulls, faucets, and towel bars are level, secure, and not missing parts.
Outside and in the mechanical spaces
Before you leave, give the exterior and the utility spaces the same short treatment.
- Grading: confirm the ground slopes away from the foundation on all sides.
- Exterior doors and garage door: operate each one and check weatherstripping.
- Siding and trim: look for gaps, unpainted sections, or visible fastener heads.
- Water heater, furnace, and electrical panel: confirm labels are legible and nothing is visibly damaged or leaking.
- Attic and crawlspace access panels: confirm they open and close without forcing.
You are not testing system performance here. You are confirming that what is supposed to be installed is installed, closed up cleanly, and not obviously broken.
Turning the walk into a usable punch list
A checklist only matters if it turns into a document the builder can act on. For each defect you find, note the room, a short description, and a photo. Grouping items by trade, electrical, drywall, plumbing, paint, makes the resulting punch list easier for a superintendent to assign and close out before final payment. On most jobs, the punch list is simply the agreed list of items to finish or correct before the owner takes the home as substantially complete, meaning the point where you can use it for its intended purpose.
This is where a phone-based tool like SayScope can replace a paper clipboard. You photograph each defect, circle it on the photo, and speak a short note instead of typing. The walkthrough itself is free and unlimited, and each account can send one report a week at no cost, which covers a single final walkthrough on most new builds. If the walkthrough turns up more than ten items, or you need a second report the same week for a re-inspection, a paid plan lifts both the item cap and the weekly limit.
What to do with the list once you have it
Share the grouped list with your builder’s representative and agree on a timeline for corrections before closing or final payment, whichever applies to your contract. Keep your own copy with photos and dates. If items are not resolved on the agreed schedule, your options, including any mechanics lien rights, notice requirements, or warranty period, are set entirely by the law of the state where the property sits. Those rules vary significantly from state to state, so check your state’s specific requirements or talk to a lawyer licensed there before you rely on any deadline you have seen online.