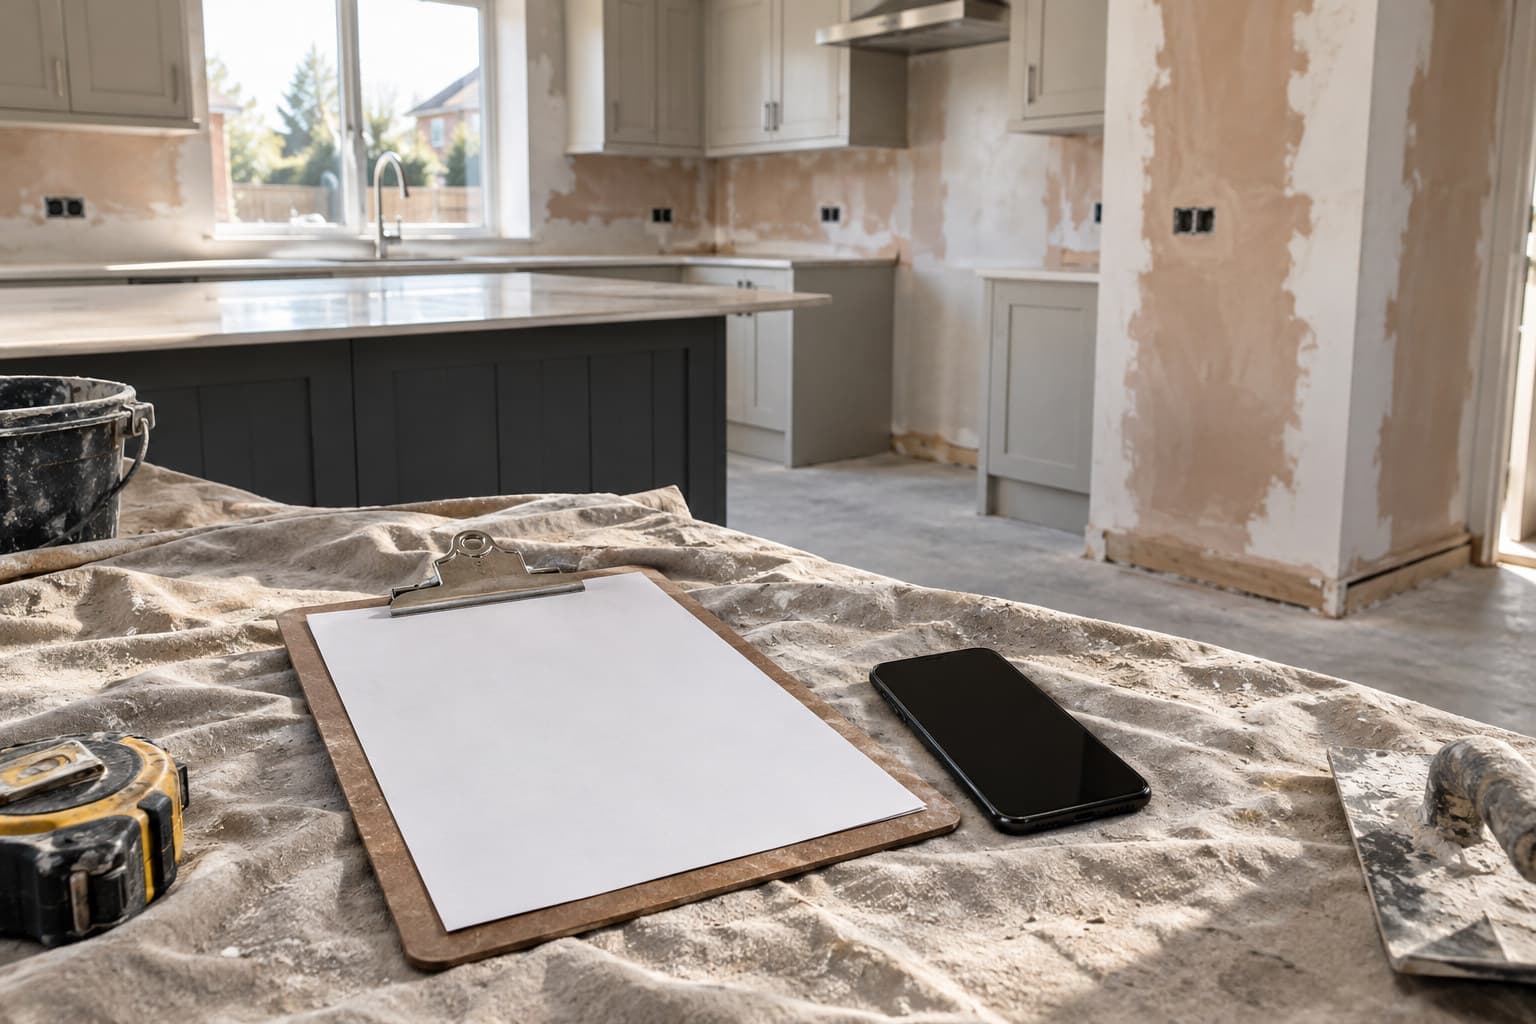
A scope of work example is easiest to understand as a walk-through: photograph each defect, mark it, say what is wrong, and group the result by room and by trade.
What a scope of work actually needs to show
A scope of work is not a vague list of complaints. It is a structured record that tells a trade exactly what to fix, where, and why it matters. For a contractor walking a property, that means three things captured against every defect: a photograph with the problem marked, a short spoken or written note on what is wrong, and a location tag that lets someone sort the whole thing by room or by trade later.
The example below follows one property walk from start to finish, showing how raw observations on site become a usable report.
The walk: ground floor
Starting at the front door and moving room by room keeps the record logical and easy to cross check later. Here is what a typical ground floor pass might turn up.
- Hallway: skirting board gap at the stairs, approximately 4mm, carpentry
- Kitchen: cabinet door misaligned, left of the sink, joinery
- Kitchen: tile grout missing in two places along the splashback, tiling
- Living room: paint splatter on the window frame, decorating
- Downstairs WC: extractor fan not running, electrical
Each line in a real scope of work would sit alongside a photo with the defect circled, plus a one line note recorded on the spot rather than written up from memory afterwards.
The walk: first floor
- Bedroom one: door handle loose, carpentry
- Bedroom two: radiator valve leaking slightly at the join, plumbing
- Bathroom: sealant around the bath incomplete, plumbing or tiling depending on who is contracted for it
- Landing: carpet gripper exposed at the top of the stairs, flooring
Trade attribution matters here. A leaking valve and a missing seal might look similar on paper but belong to different trades, and a scope of work that misattributes them wastes a site visit.
Turning the walk into a usable scope of work
Once the walk is done, the same list needs to work two ways: grouped by room, so whoever is coordinating the site can see what is outstanding in each space, and grouped by trade, so each contractor gets a clean list of only the items relevant to them.
- 1Sort every defect by room first, to confirm nothing has been missed on the walk
- 2Re-sort the same list by trade, so each contractor receives only their own items
- 3Attach the marked photo and the note to each line, not just a description
- 4Flag anything that looks structural or safety related separately, since it may need faster turnaround than cosmetic snagging
Where this matters most
This kind of structured scope is most useful at handover points: when a contractor hands a snag list to subcontractors, when a property changes hands between phases, or when a defects liability period is running and items need tracking against a deadline. A professional snagging survey, where one is commissioned separately, typically costs between £300 and £600 depending on the size of the property, and the output should look much like the worked example above.